
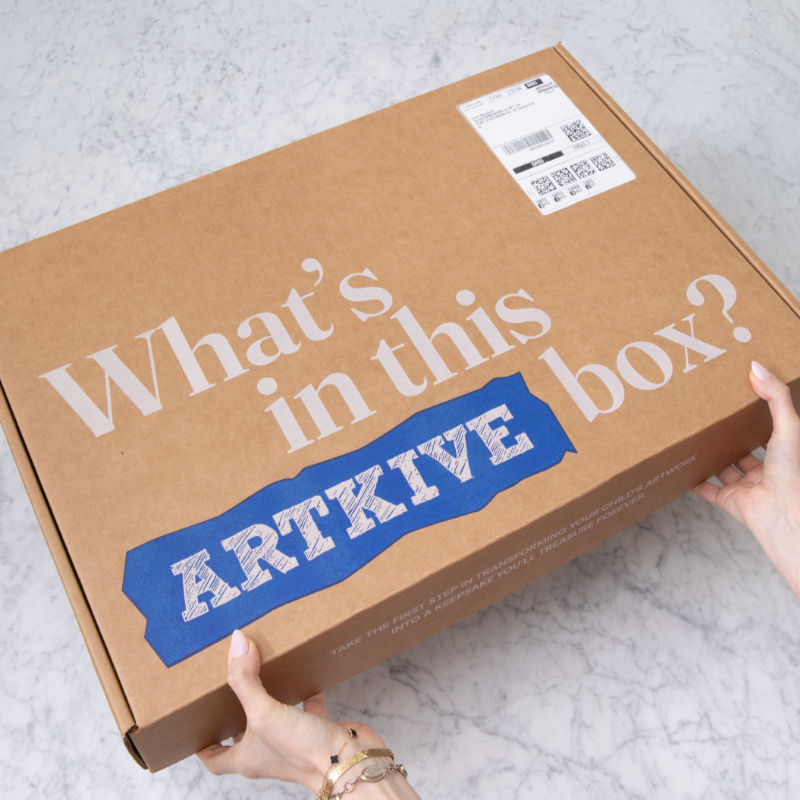
Artkive Box Packing Tips: One Box, Multiple Kids
- Mar 12
- 4 min read
Updated: Jun 25
Been holding off on sending in your Artkive Box? If sorting through two or three kids' worth of artwork feels like a project you don't have time for, this guide is for you.
The good news: packing one box for multiple children is completely doable, and Artkive's team handles the rest. Here's exactly how to organize kids artwork by child so every piece ends up in the right book.
For a broader walkthrough of the packing process, check out our general packing tips and checklist. This guide is specifically for families with more than one child's artwork to preserve.
Step 1: Gather All Your Kids Artwork

Before you sort a single thing, do a full sweep of the house. Check the fridge, the walls, the bins, the bedroom floors, and that mystery drawer in the kitchen. Gather all of your kids artwork into one spot so you're working with the full picture.
Kids art has a way of spreading to every corner of the house. A quick room-by-room walkthrough before you start can save you from finding a stray watercolor halfway through.
A few things to know before you collect:
If you have any framed artwork you'd like to include, remove it from the frame. Do not send glass in your Artkive Box. If the frame is part of the craft, remove only the glass from the window.
Collect everything into one central pile before moving to Step 2.
Step 2: Separate the Art by Child

Once you've gathered the full collection, sort it into piles, one per child. As you go, feel free to recycle anything you know isn't worth keeping. Organizing children's drawings as you sort makes the whole process more manageable.
Invite the kids to help. They love it, and it speeds things up.
Use note cards to mark each pile clearly (e.g., "Mia," "Lucas").
Toss anything you're certain you don't want to preserve. No guilt required.
Step 3: Sort Each Pile by Age or Grade (Optional)

Once each child's art is in its own pile, organize within that pile by age or grade. Since Artkive photographs your art in the order it arrives, how you pack the box shapes the flow of each child's book. You can always rearrange pages when you review your proof, but starting organized makes it easier.
Use note cards to divide each child's pile into age or grade groupings.
Label clearly: "Emma, Grade 1," "Emma, Grade 2," and so on.
If this step feels like too much, you can reorganize digitally during your proof review.
This step is optional, but worth the extra time if you want the finished art book to read like a genuine record of each child's creative journey.
Step 4: Secure and Label Each Stack

The goal now is to keep all this organization intact inside the box. The best tools: large binder clips, oversized zip-lock bags, or paper grocery bags for larger stacks. Label each secured bundle clearly so Artkive's team knows exactly whose artwork belongs to whom.
Use binder clips, large zip-lock bags, or paper grocery bags to secure each bundle.
Attach a note card or label to every stack with the child's name and grade grouping.
Contain any glitter-heavy pieces in their own sealed bag to prevent sparkle migration.
Skip rubber bands (art slips out or edges get bent) and regular paperclips (they slide off in transit).
Step 5: Fill Out Your Order Forms and Place Them on Top

Your Artkive Box comes with an Artkive order form inside. You'll also find one attached to your confirmation email. Here's what to know when ordering for multiple children:
Want separate art books per child? Fill out one order form per child. Place each form on top of that child's corresponding bundle.
Want all kids in one shared book? Fill out a single order form and list each child's name on the name line.
Place each completed form directly on top of the art bundle it belongs to before closing the box.
Need additional Artkive order forms? Find them here.
You're Ready to Send Your Artkive Box!
Once everything is labeled, secured, and your forms are filled out, you're ready to seal it up and send it off. Need some musical motivation? Queue up the Artkive Packing Playlist on Spotify, curated by our team for this exact moment.
Once that box is sealed, Artkive's team takes it from here. You'll receive updates at each step of the process, and before long, all of that kids artwork will be a hardcover memory book your family will look through for years to come.
Questions along the way? Reach out at help@artkivebox.com. The support team has seen every scenario, and they've got you covered.
Haven't ordered your Artkive Box yet?
FAQs: Packing an Artkive Box for Multiple Kids
Can I put two kids' art in one Artkive Box?
Yes. One Artkive Box can hold artwork from multiple children. Just separate and label each child's bundle before packing, as described in the steps above.
Do I need a separate Artkive Box for each child?
No. One box works for the whole family. Whether you want separate art books per child or one shared memory book, you can make that choice on the order form.
What can't I include in my Artkive Box?
No glass. If you're including framed artwork, remove the glass before packing. Also, skip rubber bands and oversized pieces that won't lie flat. For extra-large artwork, see our guide to sending oversized kids art to Artkive.
Where can I learn more about the packing process?
The Artkive Packing Page has a full visual walkthrough of how the box becomes a memory book. Bookmark it for reference while you pack.

